Q.4: How did you use media technologies in the construction and research, planning and evaluation stages?
Throughout the duration of our project, media technologies were essential when researching and planning, whether it be physical technologies or digital ones. Such technologies were key to creating our final products, and without which I doubt our products would have been produced to the standard they are at.
Research and Planning
|
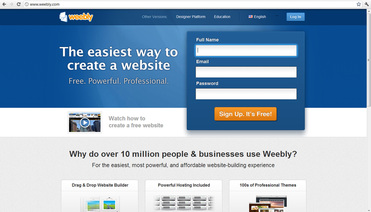
The website creation engine we used to produce what you are viewing right now is Weebly. Their slogan 'Web creation made easy' is extremely accurate, as site construction consists entirely of drag n' drop web creation, allowing you to place what you want, where you want. None of us had used or even heard of this website before, so we were fairly inexperienced when using it, however we all quickly adapted to the website and find it a lot easier than most other blog based websites such as Blogger or Tumblr. Overall Weebly allows us to present our work in a sleek, clean manner with ease, so it was a great help in terms of planning and research.
|

Various widgets available to drag and drop into your website
Search Engines/Social Networking
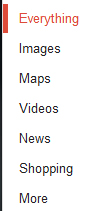
Search engines were another vital tool in terms of the planning and research phase, as it enabled us to search about whatever we wanted to know literally at the click of a button. One of the Search Engines we used was Google:

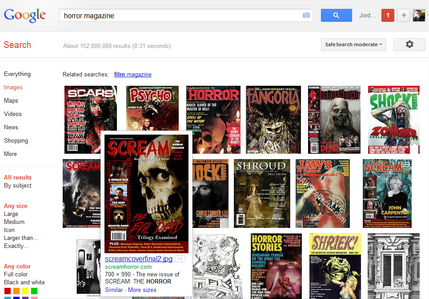
Image search
|
|
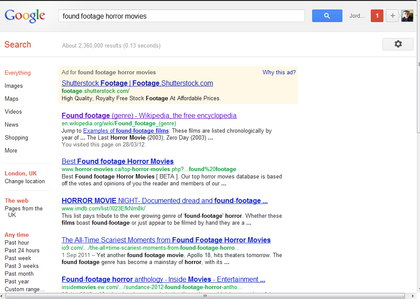
Web search
|
We used Google as it was extremely flexible, allowing us to search everything from Images to videos to literally 'Everything'. We mainly used the Image tab search option when researching existing magazine covers and movie posters, and also when researching camera angles to gain the knowledge necessary when filming our trailer product, while we used the website search mainly to research the horror genre.

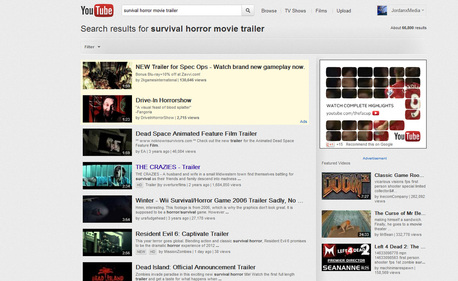
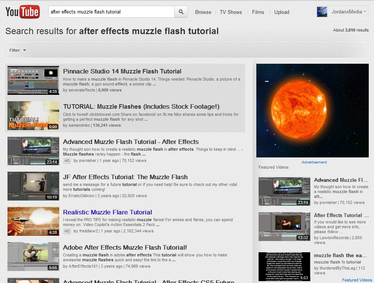
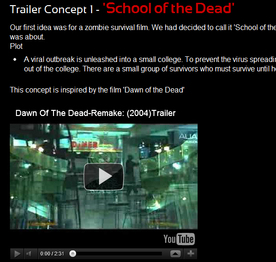
We also used the video sharing search engine, Youtube. This website was an extremely useful tool as it enabled us to watch and research real horror trailers of any genre, and also learn skills by watching tutorials on anything we want to know about, such as special effects and make-up.
|
|
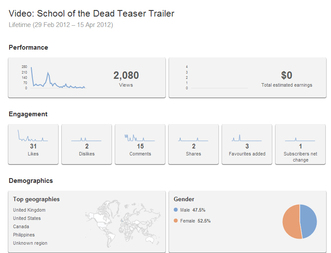
It also allows us to track the progress of our uploaded videos, allowing us to see how much of the video the majority of our viewers watched before leaving the page, which countries we got our views from, and the gender percentage of our viewers.
|
|
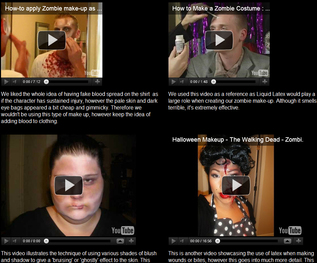
Weebly has also allowed us to embed Youtube videos onto our site, which has enabled us to post the various tutorials and useful videos we have watched when learning make up techniques or researching conventions :
|
|
and also to share our various self-made tutorials and experiment videos:
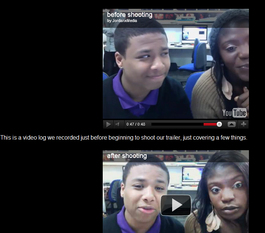
Our group video logs
which can be found here: http://flatlinecinema.weebly.com/video-logs.html
The media technology of Youtube (and the Apple Mac built-in Webcam) has enabled us to create our own video logs where in which we discuss what we expected from our shoot and how the shoot went
|
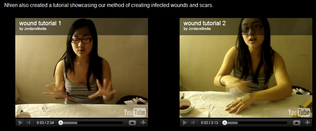
Nhien's 'wound' make-up tutorial
which can be found here: http://flatlinecinema.weebly.com/costume-and-make-up.html
The use of the media technology of Youtube has also allowed us to post tutorials of our own to show that we have
|
Title concepts
which can be found here: http://flatlinecinema.weebly.com/titles.html
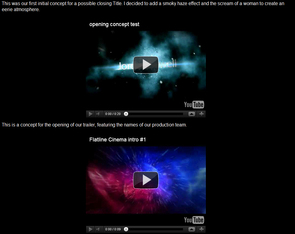
The use of the media technology of Youtube has allowed us to showcase our digital tests and experiments
|

|
Another form of media technology we used was another video sharing search engine, Vimeo. Although it shares the same premise as Youtube, Vimeo is generally based around film-making and videography, which is why we felt it would be perfect to use when posting our trailer product. Using this media technology allowed us to share our product on more than one medium which is Youtube.
|

|
And for these same reasons we posted our trailer on the Indietalk.com film making forums to share our video even further:

|

|
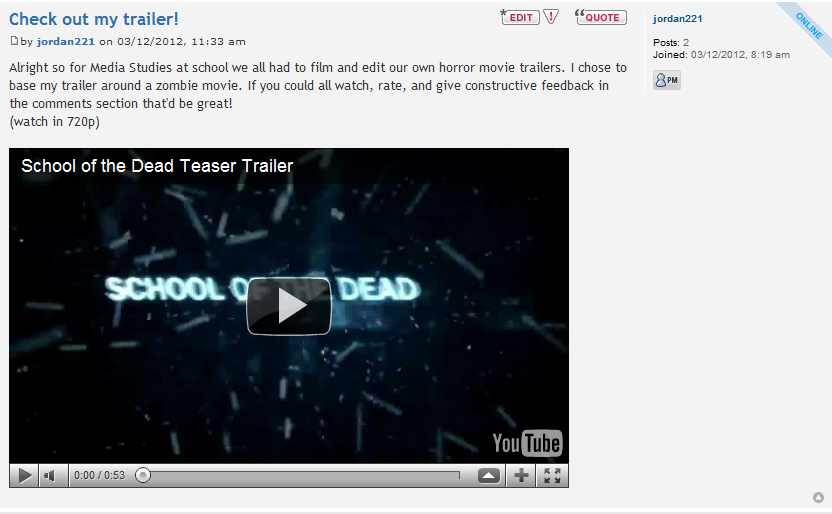
And also on the Video Copilot special effects film forums:
|
|
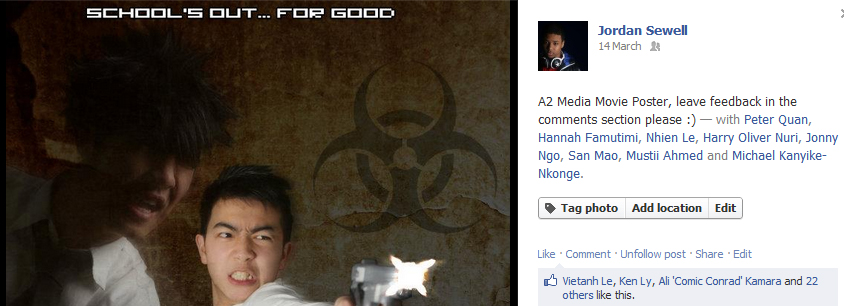
And we also shared all three of our products on the popular social networking websites Facebook and Twitter:
|

|
Movie Trailer Product
Equipment
|
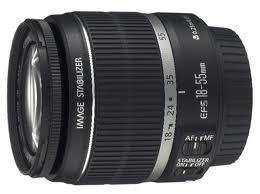
Due to a shortage of cameras within the department, we decided to use my own personal Canon 550D to film our trailer product as oppose to the Canon 7D. This enabled us to shoot our trailer a lot quicker and efficiently as our shooting times were flexible since we didn't have to take turns filming with another group. As it was my camera I was fully aware of all of the features such as ISO levels, exposure, etc. which allowed us to film our trailer with little hindrance as we were all aware of what we were doing.
|

Canon 550d

KaiLite Z96
This is the KaiLite Z96, a portable lighting device with adjustable brightness that can also be attached to the top of your camera. This was greatly useful for our final scene where in which the trailer adopts the POV style of film, as lighting was essential in such a dark scene, so we attached this on top of the camera. It also gave our final scene an authentic 'built-in video camera light' look. Below is the scene we used the KaiLite Z96 for
|
Overall by familiarising ourselves with such technology we were able to conduct our shooting as quickly as we could, as we knew how to work all of the equipment.
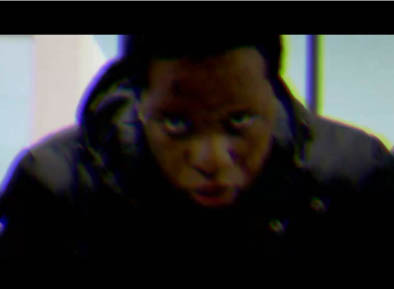
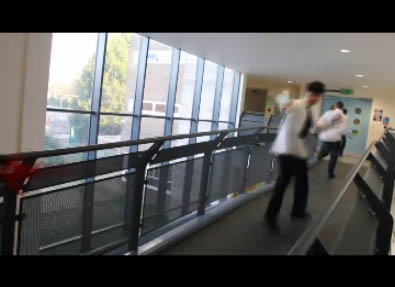
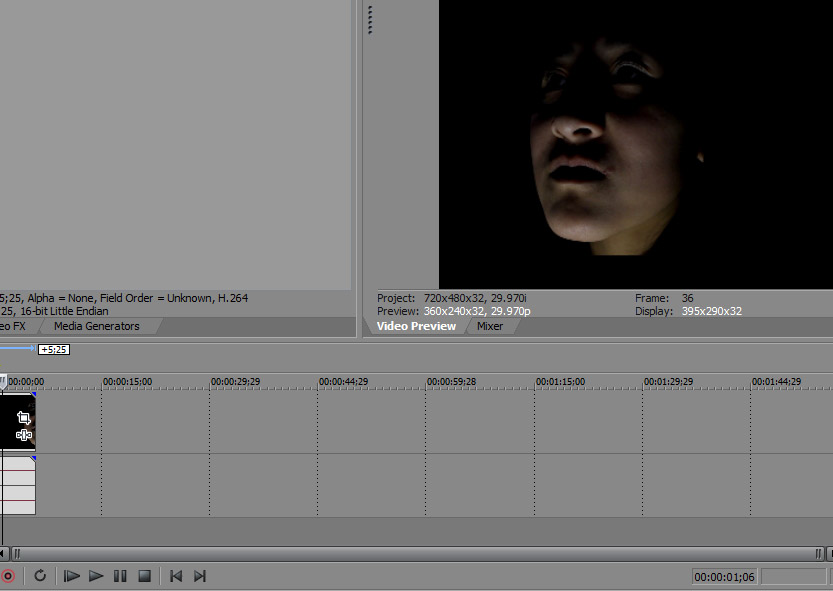
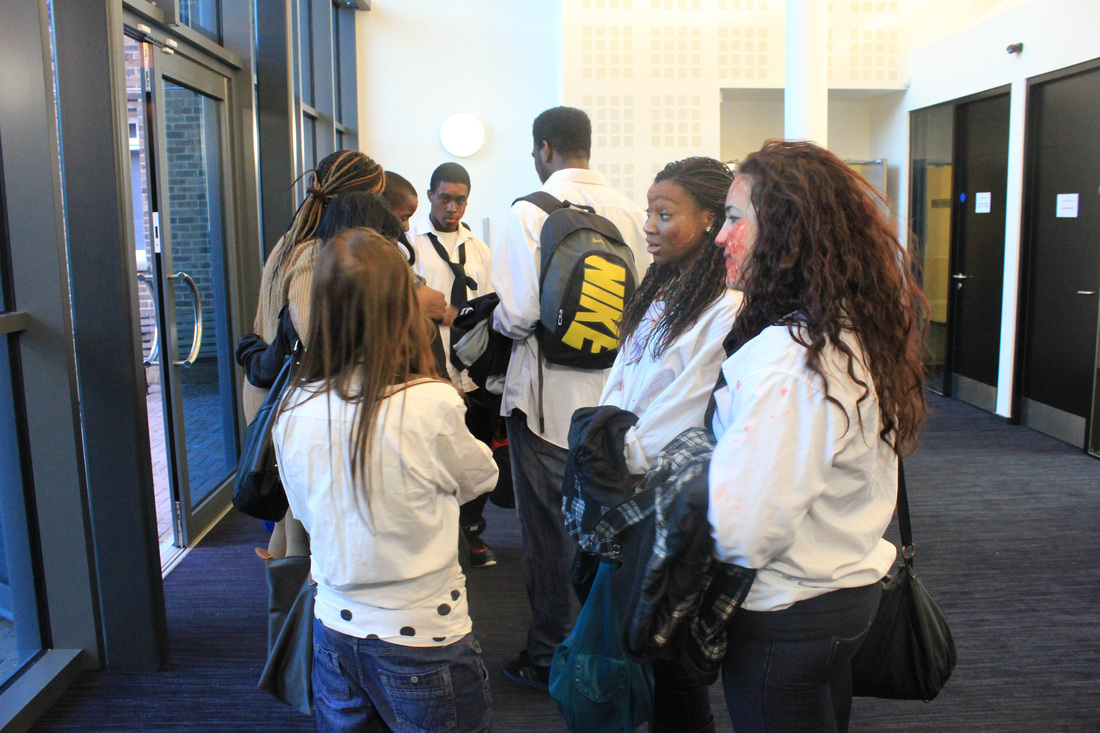
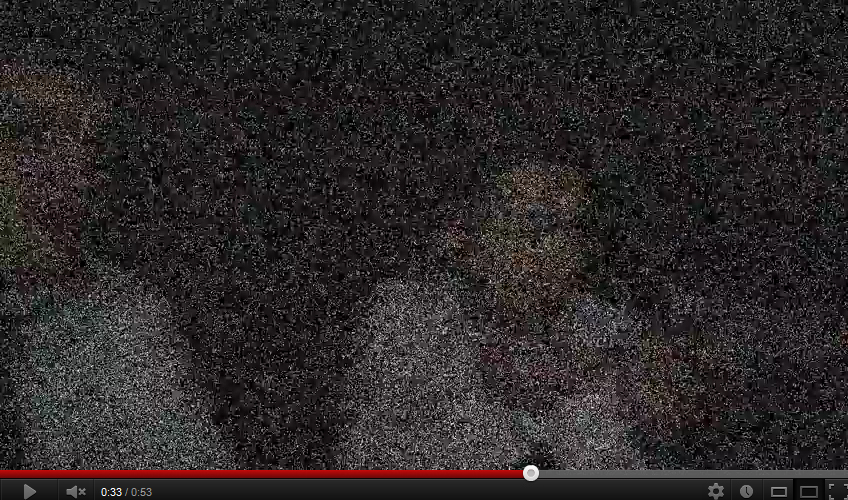
However when filming we did make quite a few technical errors that set us back a bit, one being the ISO setting. What we hadn't realised was that the ISO settings were set too high, we did this initially because the scenes were very dark and we had a limited source of lighting, however this caused the picture to be very grainy and low quality. Therefore we had to find alternate locations and scenarios for the scenes with high ISO such as these examples
|
Overall the darkness of the corridor is very daunting and gives off a horror effect, however the zombies at the glass are not very visible as all shadows within the picture have become over saturated and dark, and the grainy picture ruins the scene overall, and this is an example of one of the many mistakes we made while filming.
|
The high ISO gives a strange grainy look to the footage, and the lighting within the elevator gives off a strange, grungy green tint to the overall scene which doesn't look very aesthetically pleasing, therefore we did not use all of this scene within the trailer.
|
However making such mistakes was a learning experience and allowed us to learn through trial and error, and we now know that even though it's quite tempting to bump your ISO setting up a bit for a brighter picture, keep it as low as possible, as seeing what you've filmed on the camera's monitor is very different from seeing it in 720p on a PC monitor.
Software
Creating a movie trailer product isn't as simple as just filming it and throwing it on Youtube. After filming there is a process that takes a lot longer than filming the footage itself, known as the editing process. To do this we had to familiarise ourselves with media technologies in the form of different editing software. Overall we decided to use three main products in the editing phase, and these were

Adobe After Effects cs5
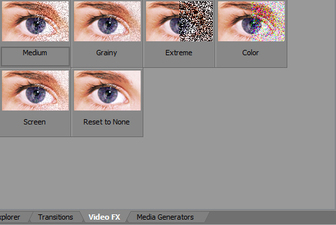
Adobe After Effects cs5. This was probably our most useful form of software, as it enabled us to add in effects such as gun shots and blood splatters. We mainly used this program for the RGB twitch effects seen at the beginning of our trailer:
The aforementioned gun shots:
The titles featured throughout the trailer:
And slight colour correction.
|
Final Cut Pro
Final Cut Pro is an editing software purely used for composing clips together and adding captions. We used this software to compose together the first few clips, however we realised that Sony Vegas was a much more flexible program allowing you to do so much more things such as add unique 'Plug-in' effects to your clips and much more, so we decided to use Sony Vegas Pro 9 to compose the majority of the trailer together. When using Final Cut Pro I found that the interface was quite rigid and there was a lot going on screen, and I noticed that I edited fairly slowly when using it and it seemed to crash quite a lot and go slowlyalso.
Soundtrack Pro
Soundtrack Pro, much like Final Cut Pro, is a piece of software created by Apple. This software as a huge array of sound effects with many foley sounds, such as gun shots, foot steps, blood splatters, and various others. This software was extremely useful and by exporting the various sound effects available within it the majority of the sound effects we used within our trailer product was from Soundtrack Pro.
|
Sony Vegas Pro 9
Sony Vegas, much like Final Cut Pro, is an editing software, however it is not limited to just composing clips and adding captions. You can create amazing title screens and even add in special effects, with an easy to use interface I learned how to use this program very quickly. It also runs extremely smoothly as it takes up only a small portion of RAM on your Computer.
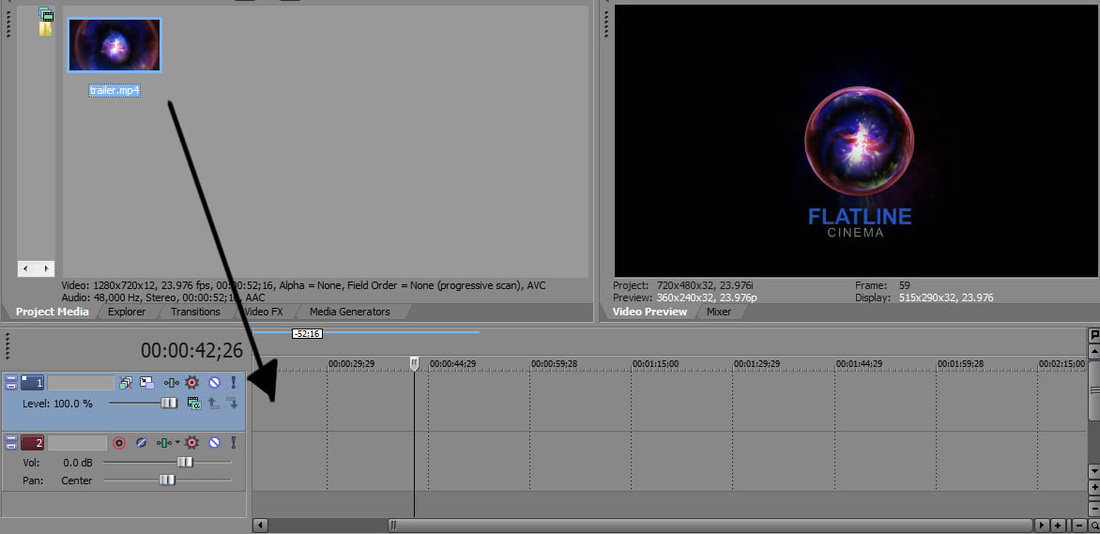
You can simply drag the clips straight into your time line and edit them any way you wish.
Click to enlarge
As mentioned before there are also a large amount of plug ins and effects available with this program, with everything from scene transitions to colour correction.

Plug ins built-in for selection, you can also obtain hundreds of more plug-ins!

We also used Sony Vegas to go through our large collection of clips to sort out which ones were needed
|
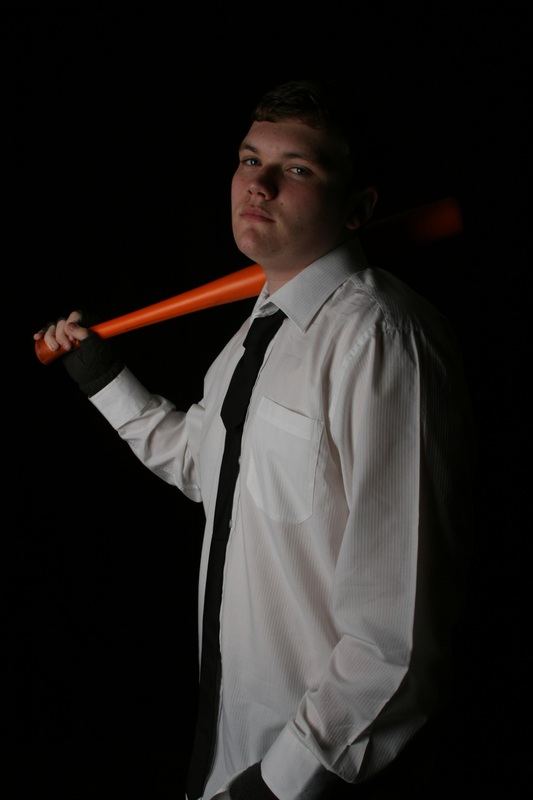
Colour correction is an essential part of all film making, and a very viable aspect of media technology, as you can create an atmosphere or feeling with just a few clicks of a mouse. An example of this is our first initial scene, where a girl is in distress and shrouded in darkness.
As you can see our overall goal of this shot was to get it as dark as possible while keeping the subject (the girl) still in sight. This scene looks quite nice as it is, however to we wanted to embrace a chilling atmosphere, therefore we felt colour correction would be needed.
|
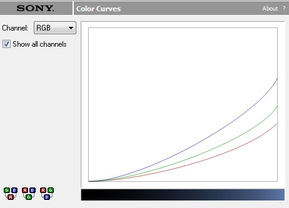
By Adjusting the RGB colour levels and adding a tint of blue (all of which I learned during the editing process) we were able to create an omibous blue undertone to give a creepy effect to our scene.
|

With our outcome being this, which we were very pleased with.
Another example of this colour correction can be seen with our before and after video:
|
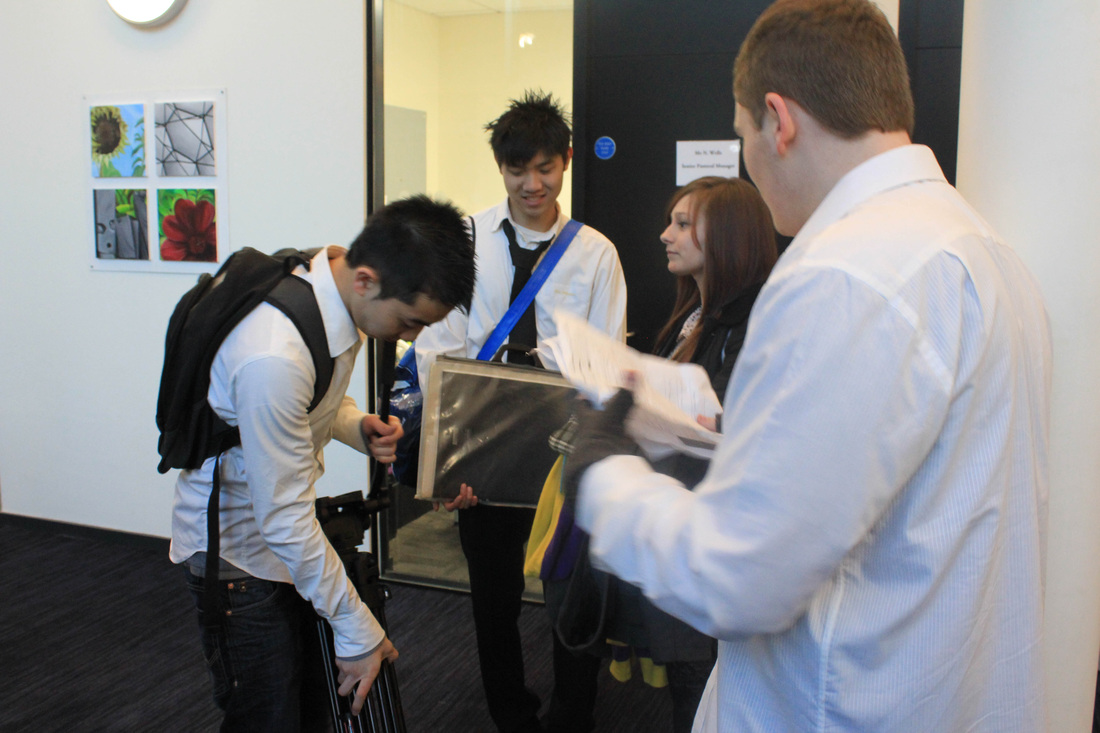
There were several things that hindered our progress in terms of filming and audience feedback. Firstly on both days we filmed the weather wasn't very kind to us. It was extremely cold, and having many students outside in just shirts freezing made it hard to keep the group morale up.

|
|
|
However luckily all of our actors carried themselves as if they were professionals and were a huge help.
|
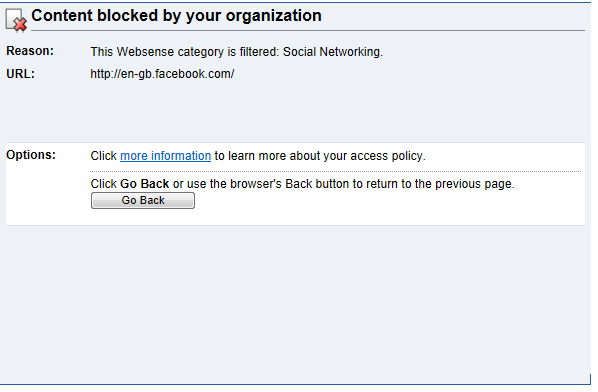
Audience research was also quite difficult as our college network blocked all social networking sites such as Facebook and Twitter. This made it pretty much impossible to gather audience research with the use of social networking, therefore we had to individually conduct our own audience research, with each of us posting our products online using our own accounts.
|


Movie Poster and Magazine front cover products

Magazine Cover Google search
|
As mentioned before we used the media technology of Google to search up existing movie posters and magazine front covers to enable us to research the common conventions shared and challenged by many different magazines and movie posters. This was extremly helpful as it enabled us to decide on which conventions we would use and which we would challenge.
|
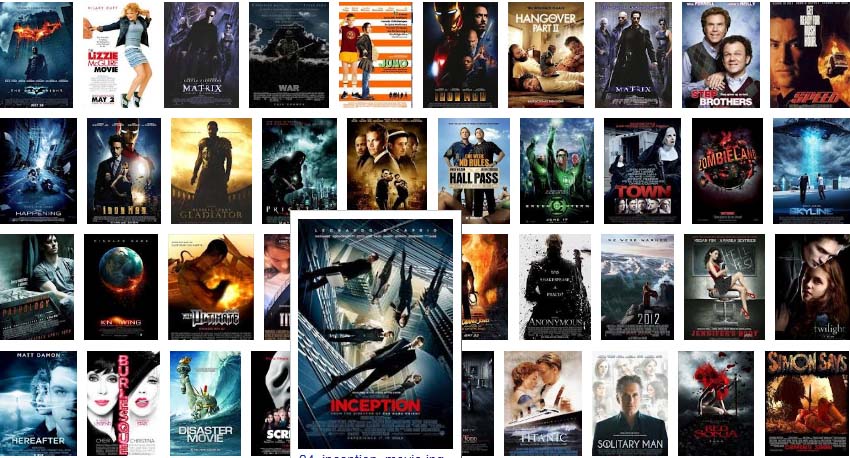
Movie Poster Google search
|
As we had a large amount of time to conduct our photo-shoot, we decided to take photographs that we could use both for the magazine cover and movie poster product as oppose to conduct two separate shooting days. Our reasons for this is firstly because it would be a very time efficient choice as we would save ourselves the trouble of organising another photo-shoot, and secondly because we wanted our actors to stay consistent. By this I mean that if one of them had cut their hair or came in in a different costume by the time we did our second photo-shoot, there would be a visible difference between both products. We wanted our products to have as much continuity as possible therefore taking all of our photographs on the same day is the logical choice.
|
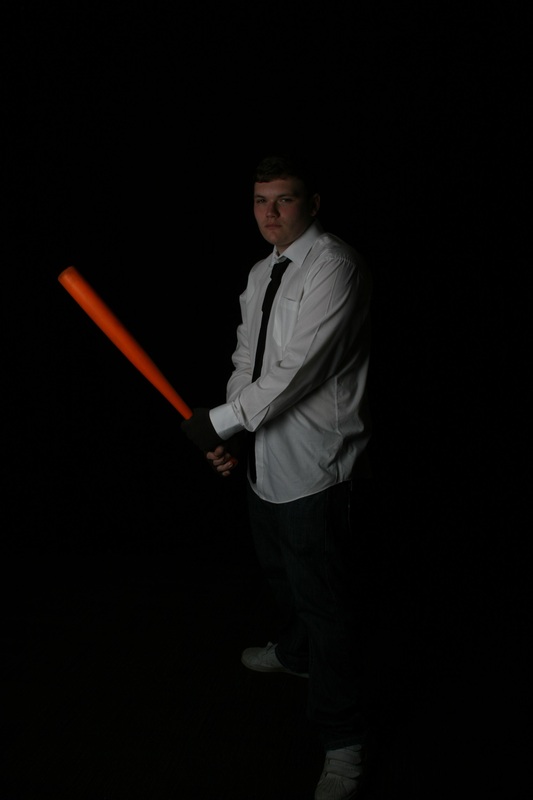
When conducting photo-shoots, a crucial media technology form is lighting. As oppose to using traditional 3-point lighting that would illuminate the whole subject
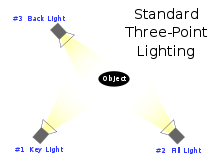
we decided to stick to one to two main light sources. We did this as we wanted there to be as little light as possible to create an ominous effect, as if the subject is being consumed in darkness, providing us with soft shadows.
|
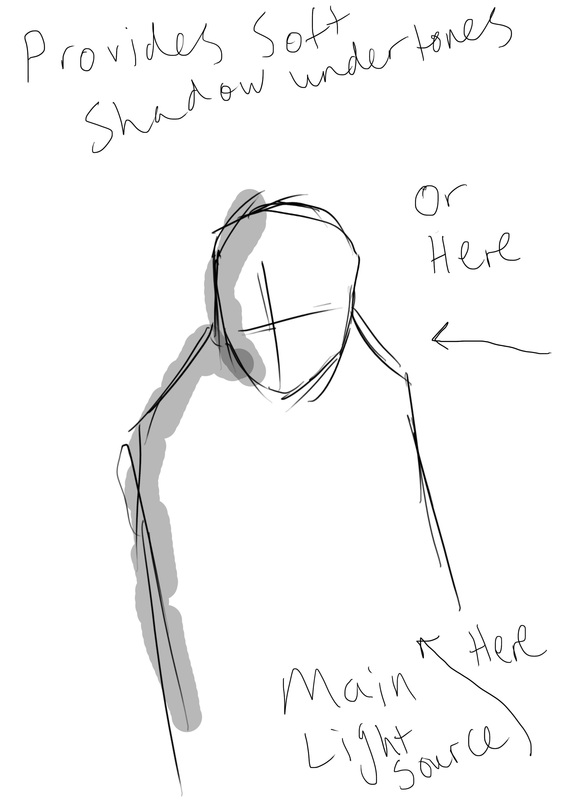
basic diagram displaying our method of lighting
|
|
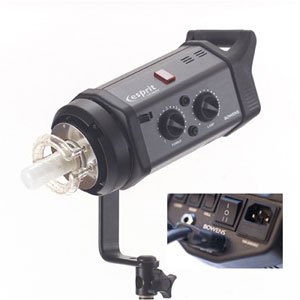
Throughout the duration of our Photoshoot we used the Bowens flash kit, which comes equipped with:
|
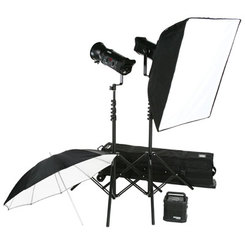
Bowens Flash Kit
|


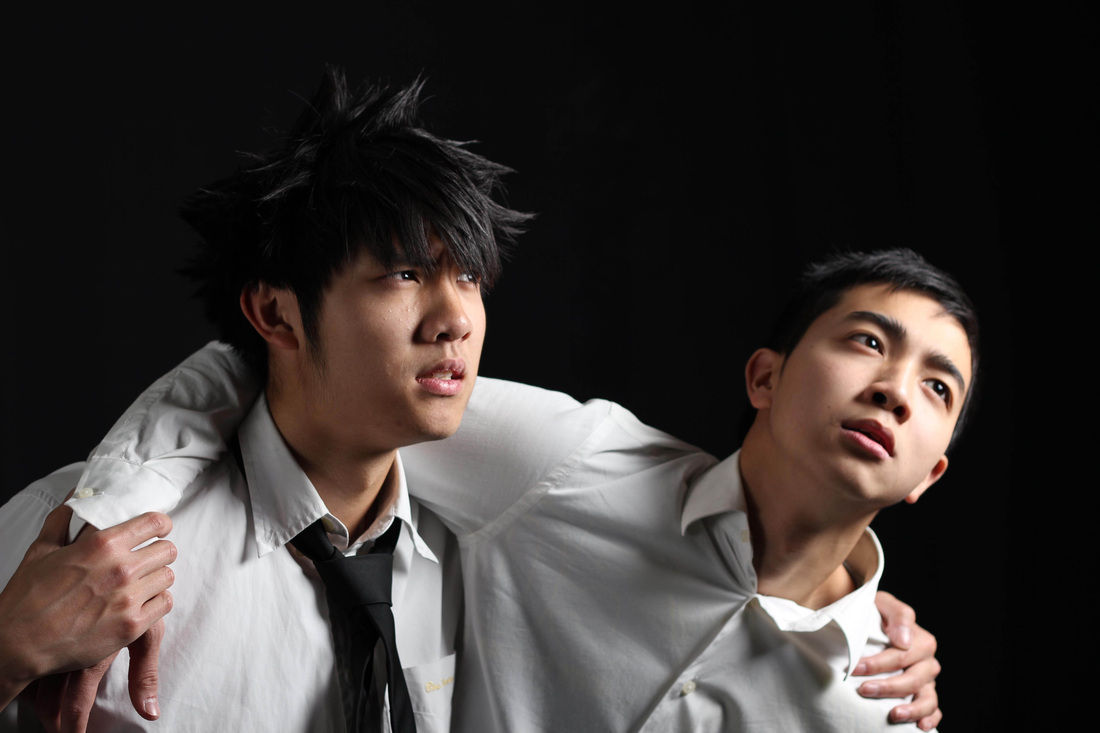
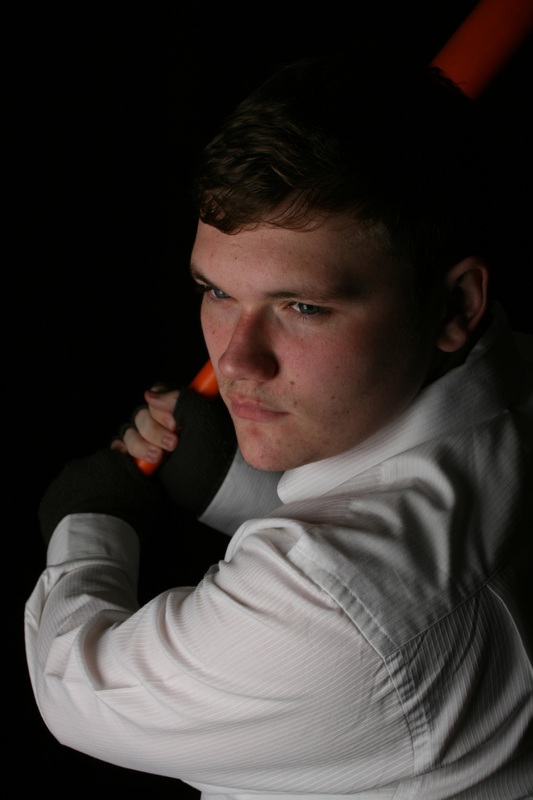
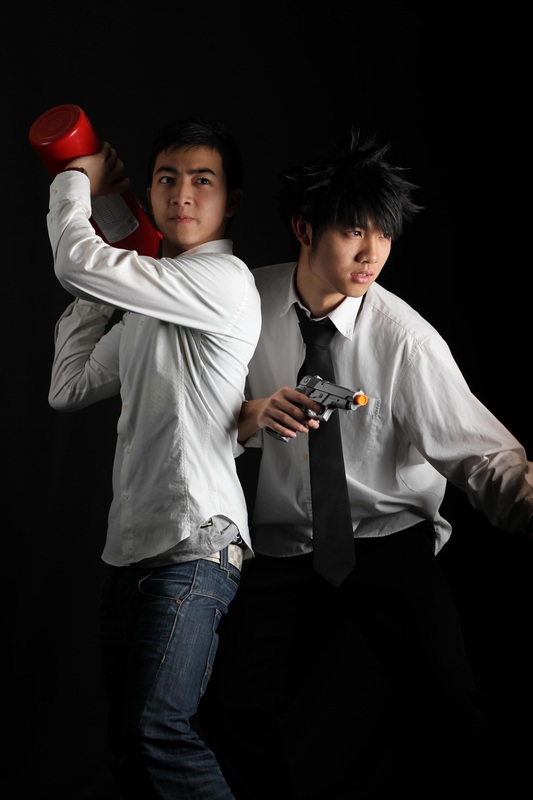
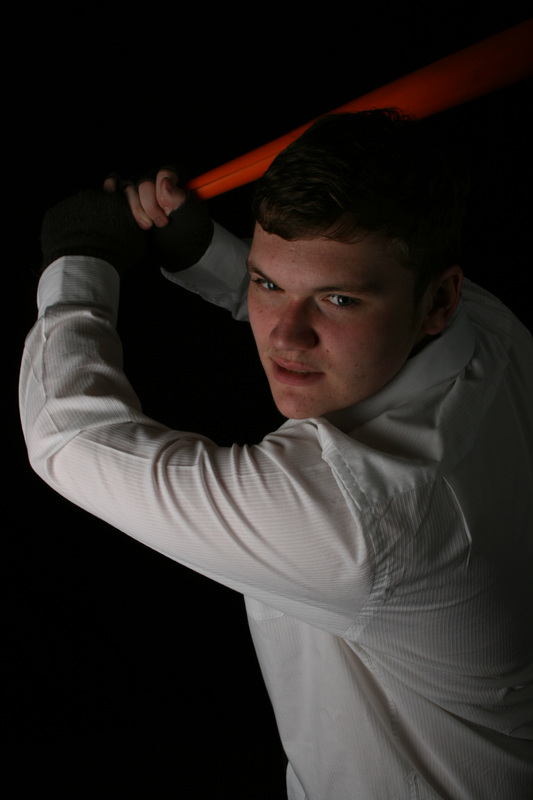
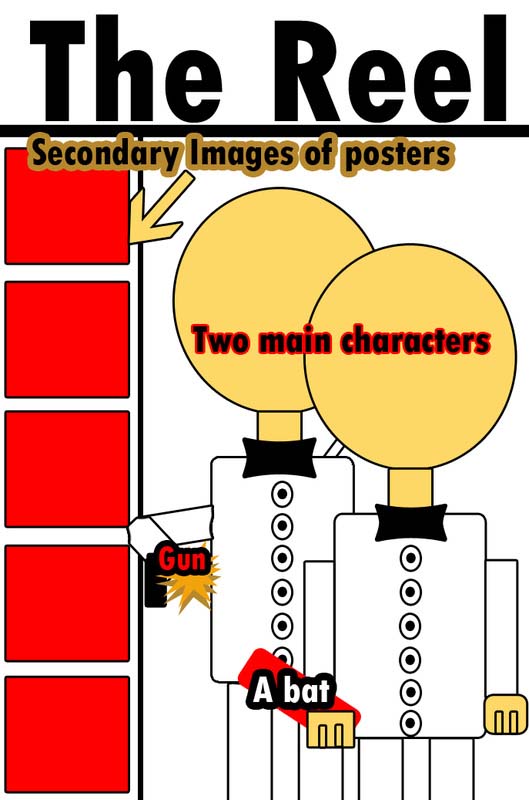
Here is a collection of a few of our best photographs featuring our main characters.
|

|
|
|
|
|
|
|
Editing Software
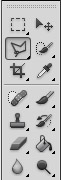
We also all used Adobe Photoshop when creating drafts of both our movie poster and magazine front cover:
|
When creating our movie poster and magazine front cover products we purely used Adobe Photoshop cs5. This program is extremely versatile, allowing you to do everything from photo-manipulation to creating amazing fantasy/graphic visuals. Using software with versatility was key to us, as we wanted to use media technologies where we could be as creatively flexible as possible , therefore Photoshop was our primary choice. This software was also very useful to us as we could edit any photographs that didn't turn out well to the best of our ability.
|

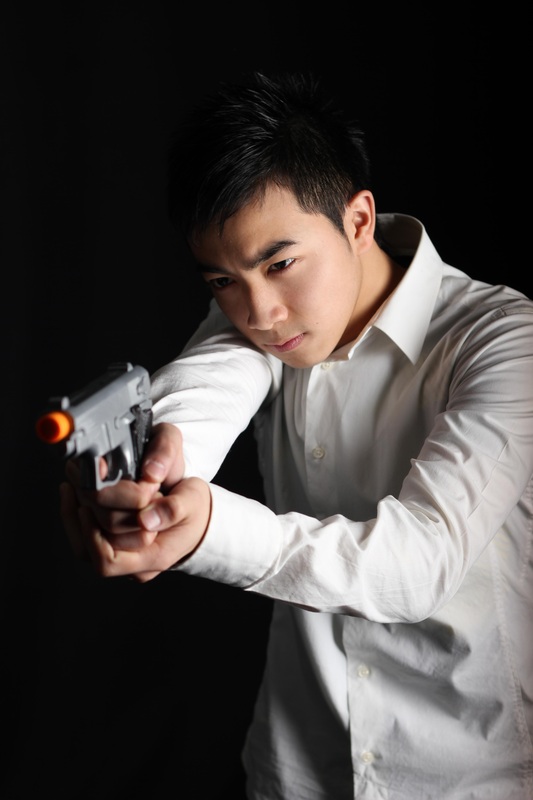
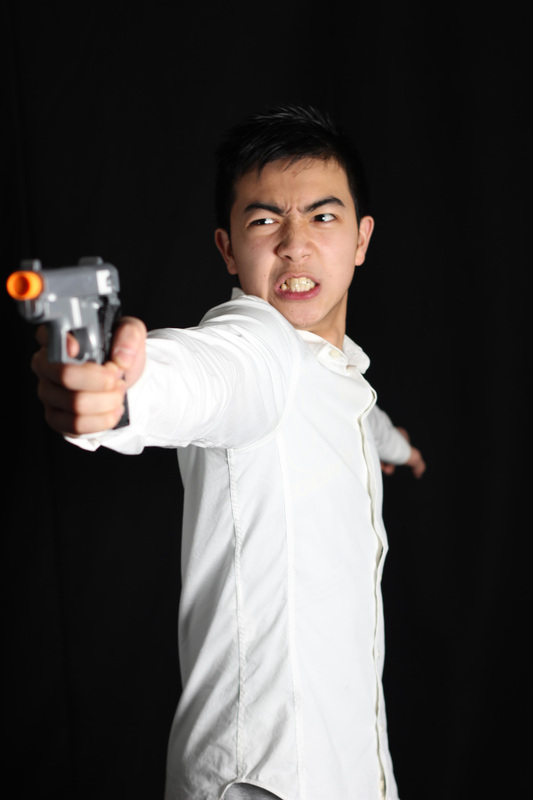
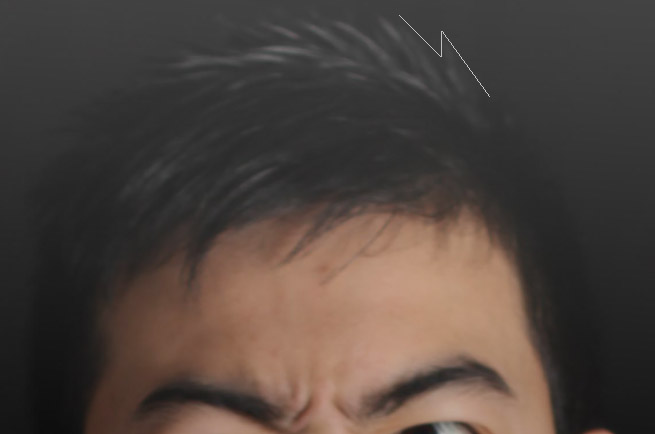
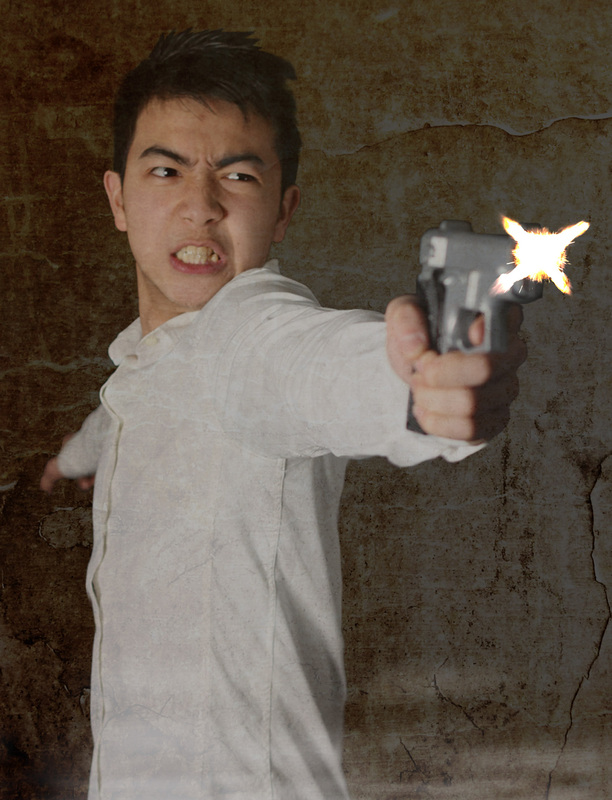
There were many problems faced during the editing of both the magazine front cover and the movie poster that we overcame, one of them being an issue with cropping. An example of this can be seen with this photograph of one of our actors firing a gun.
We needed to completely crop out the background as we wanted to place our model on a background of our own, however there was one problem.
|

When taking a closer look, you can see that our model's hair is hardly visible, as it blends in with the black backdrop. As the background we wanted to put him on was quite a bright vibrant yellow, having a guess and cropping the shape of his hair would be very tricky and the result probably wouldn't be very good.
|
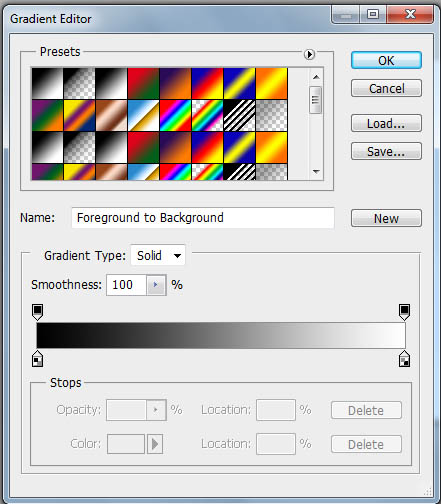
So we had the idea of applying a white gradient in another layer and lowering the opacity, which in turn would brighten the entire photograph as a whole
|
Therefore we were able to see our model's hair shape clearly and trace around it smoothly before putting our model on our background
|
Resulting in this smooth cut out:
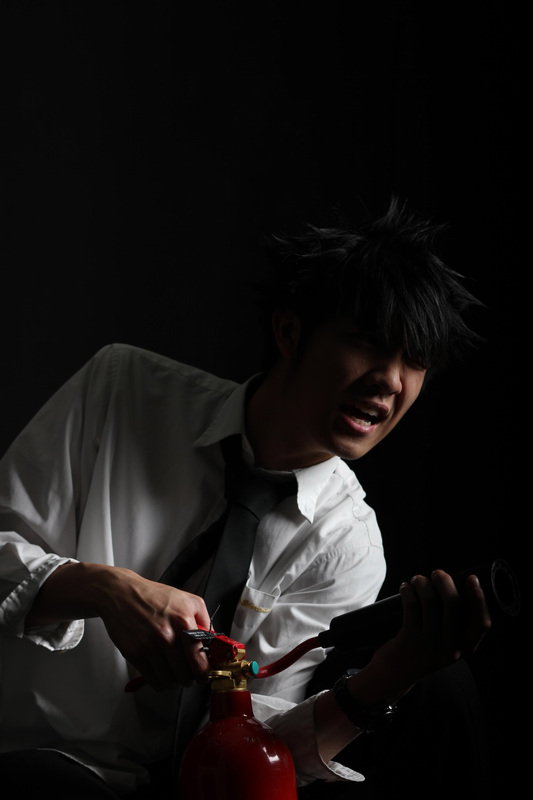
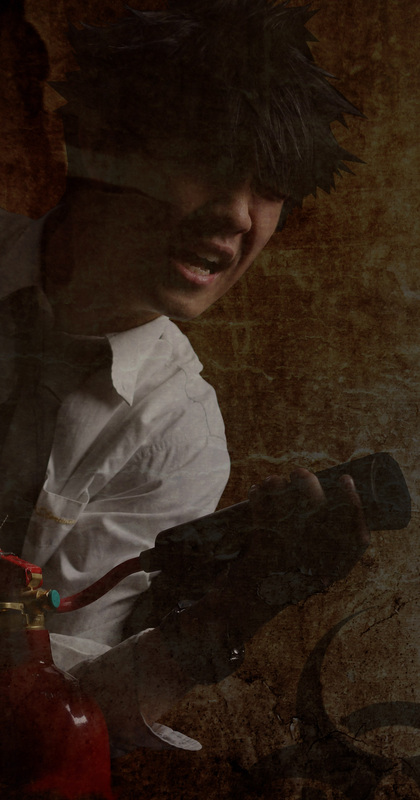
We also wanted to give our actors a mysterious soft undertone to create an effect of distortion.
|
Therefore using our knowledge of photo-manipulation we firstly began by cropping the backdrop from our original photograph
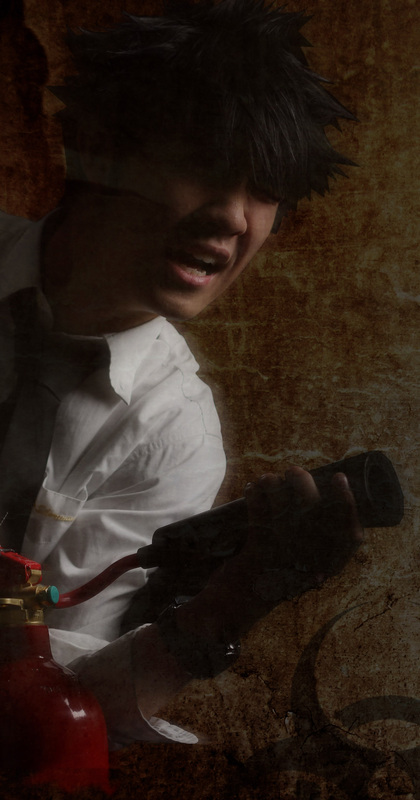
We then made our original layer visible
|
Next we lowered the opacity of this layer and then duplicated it, and then hid the original layer.
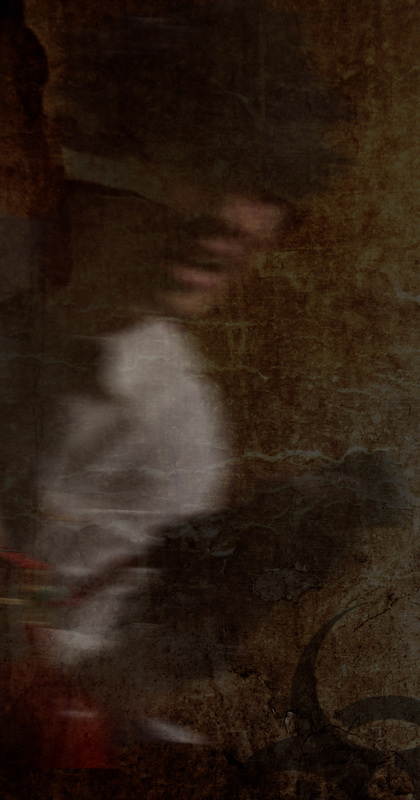
Resulting in this:
|
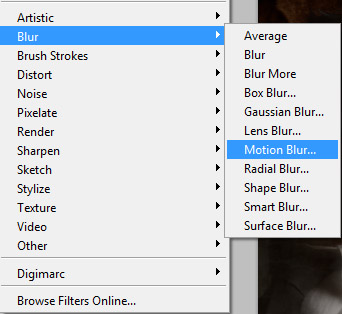
We then applied a 'Motion Blur' effect to our duplicated layer
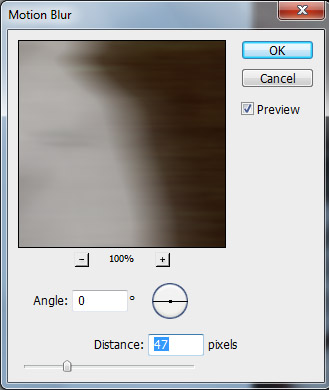
We were then able to adjust the amount of blur and angle of the blur in the settings tab
|
Overall this displays the endless possibilities with image manipulation media technology and how many different techniques we have learned over the course of this project.
Websites
|
There were also many helpful websites that assisted us with the production of both our magazine front cover product and our movie poster product, with one of them in particular being the popular font sharing website Dafont.com.
This website was extremely helpful as it allowed us to gain a wide range of fonts to use on our products, as something as simple as a font can change the whole look of a product, therefore we had to find fonts which would suit both our magazine front cover and movie poster well.
|
Movie Poster Fonts

'Seedy Motel'

'Seedy Motel' with inner/outer glow added

A combination of 'Fixedsy's and 'Orbitron'

'Movie Letters' font
We wanted to use an authentic-looking font to create our credits therefore we used the 'Movie Letters' font and varied the size of the jobs and names to give an effect of authenticity within the credits.

'Orbitron' font
|
This font is called 'Seedy Motel' and we thought it would be perfect for our movie poster as it is very ominous and the letters seem as if they look like neon lights that are running out of power.
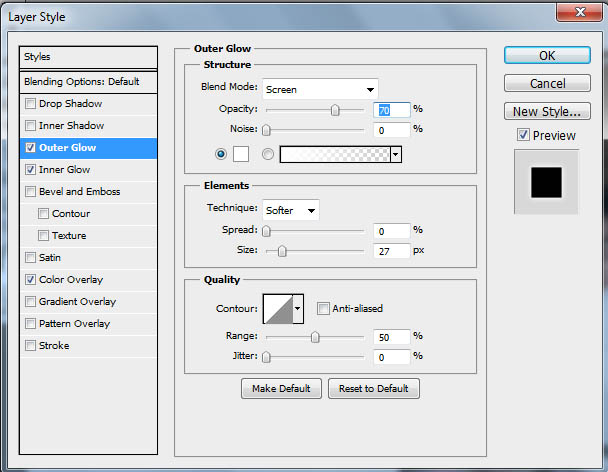
However we decided that adding an outer and inner glow to the font would increase the intensity of it and make it more creepy. It also blends in with the fog in our poster.
|
Magazine front cover fonts

'Skratch Punk' font
|
We decided to use the font 'Skratch Punk' as our masthead as we wanted to create an atmosphere of erosion or damage to suit the magazines dangerous theme of horror and gore, therefore using an 'eroded' font would suit our magazine cover.
|
'Neou' font
|
We used this font for our cover lines as it is very slick and simple.
|
|
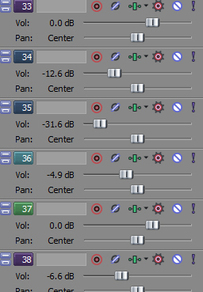
As opposed to using sound editing programs such as Audacity and Garage band, we purely used Sony Vegas, as it allowed us to alter the intensity and volume of our sounds with ease.
|
Overall this project has helped us in a vast amount of ways. Firstly it's made us understand the importance of time management, as balancing out our other subjects and social aspects of our lives with this project was certainly difficult, however we quickly adapted to these conditions. This was especially apparent when we had to schedule when our actors would be coming in to film and when we would be doing photo-shoots, and making sure that we complete our photo-shoots within the time limit. We've also learned about the importance of team work, as this project was definitely not a task one could take on by themselves. We all had to equally put in as much effort as each other to be successful with this project and all three of us are truly happy with how this project turned out, and we all enjoyed the journey too. We've also each individually learned new techniques and improved in many aspects, for example we've learned about the many settings a DSLR camera has, the importance of lighting, various photo manipulation techniques on Photoshop, and how to set up our own photo-shoots. Our creativity has definitely been put to the test with this project, but it was well worth it.
